
 1 CUT LAYER
Classic Jack-o’-Lantern
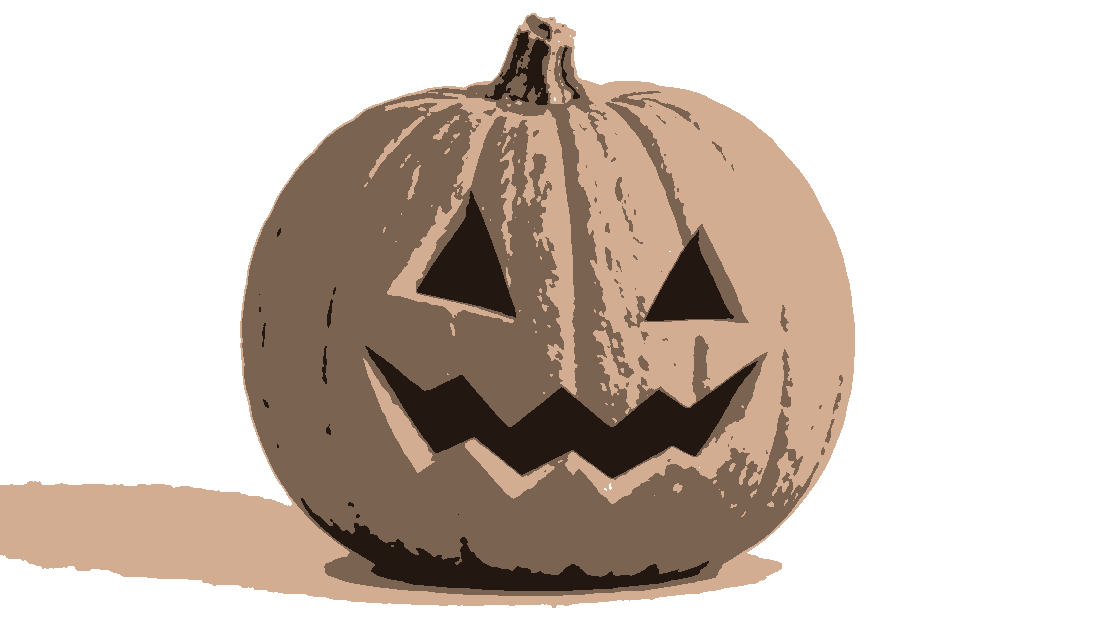
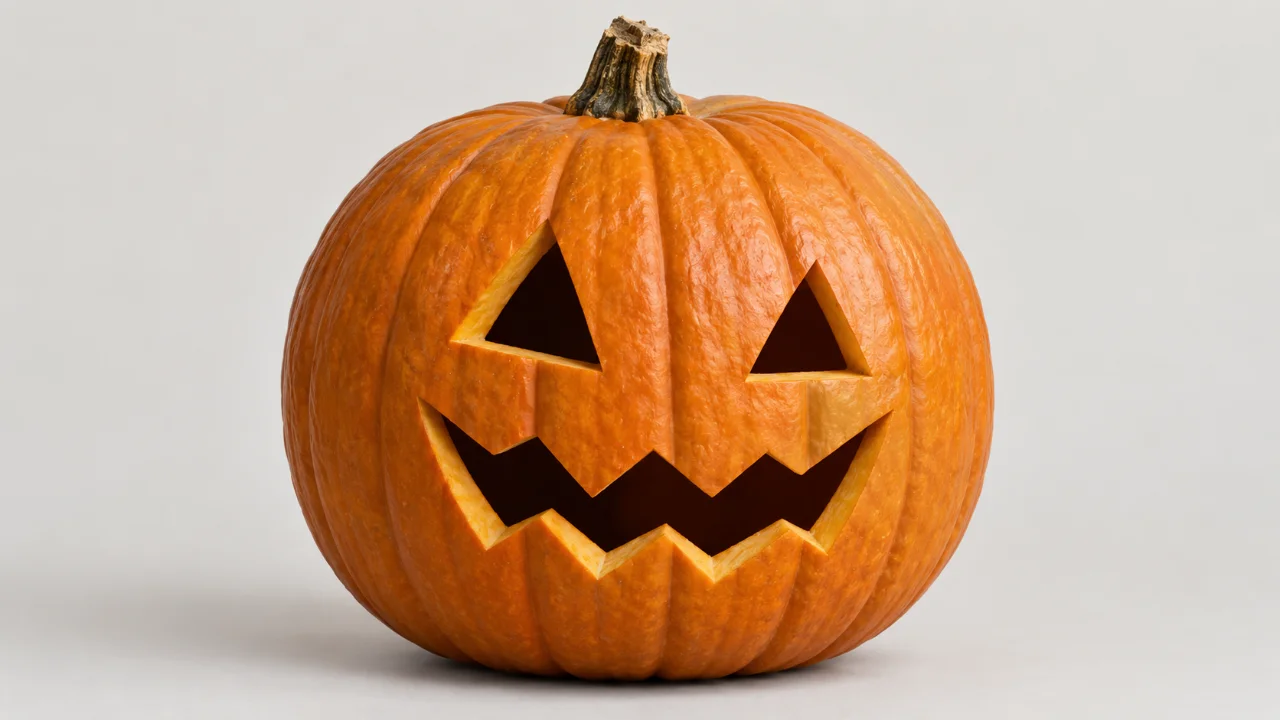
Triangular eyes, a small nose and a broad three-tooth grin.
BeginnerFREE PRINTABLE
DOWNLOAD PDF ↓
Cutting tip
Keep the three tooth tabs attached to the top and bottom of the mouth.
Make a carving pattern from your own photo. Start with bold cutouts, keep the details connected and size the print to fit your pumpkin.


3 LAYERS. CUT, ALIGN, SPRAY.
These six designs come from our 111 pumpkin carving stencils. Print a ready-made PDF without an account, or choose Customize to edit that exact pattern.
1 CUT LAYERTriangular eyes, a small nose and a broad three-tooth grin.
Keep the three tooth tabs attached to the top and bottom of the mouth.
 1 CUT LAYER
Rounded eyes and an open smile for a cheerful pumpkin.
Use the smooth eye curves as a beginner-friendly first cut.
 1 CUT LAYER
Slanted eyes and an asymmetric, angular grin.
Start with the shorter mouth corners and work toward its broad middle.
 1 CUT LAYER
An arched black cat with a raised tail and pointed ears.
Keep the spaces between the legs open. Use the broad back and tail as your main transfer landmarks.
Adapted from Openclipart artwork archive by Openclipart contributor (name not recorded). Public domain / CC0. Cut-mask preparation and bridges: StencilMaker.app.
 1 CUT LAYER
A floating ghost with three expression cutouts.
The white face bridges hold the expression in the surrounding sheet.
 1 CUT LAYER
A flying bat with swept wings and a round head, ready for a pumpkin or door sign.
Cut the pointed wing tips last and avoid narrowing the white gaps along the scalloped edges.
Adapted from Openclipart artwork archive by Orlando Karam. Public domain / CC0. Cut-mask preparation and bridges: StencilMaker.app.
Choose a portrait, pet or drawing that you own or have permission to use. Upload a JPG, PNG or WebP up to 10 MB. A close view of one subject against a simple background gives you fewer distracting cutouts to remove.
Start with the recommended Bold style for a single cut layer. Adjust the threshold until the eyes, mouth or main silhouette read clearly. Use the eraser to remove background fragments. The preview processes your actual picture in the browser; you can compare it with the original while editing.
The black areas of the printed mask are the openings; white areas are the pumpkin material you keep. An enclosed white island needs a connection or it will fall out. On the layer-check screen, review the highlighted loose pieces and use bridges or fill to simplify them.
Start with broad connections around eyes and teeth. Check the design again after resizing, because a connection that looks sturdy on screen can be fragile on a small pumpkin. The bridge guide explains the difference between keeping, filling and separating a detail.
Measure the usable face of the pumpkin, leaving room around the design. In the export screen, set the artwork width in centimetres and choose A4 or US Letter. Print a paper proof at 100% or Actual size and hold it against the curved surface before transferring the outline.
Editing needs no account. A free account downloads PNG and PDF with up to three layers, one page per layer. The ready-made library PDFs below download without signing up and use a 150 mm artwork square. Open a template in the editor when you need another width.
For a cut-through carving pattern, start with one bold layer. The 2 Layers and 3 Layers styles separate a photograph into tonal paint masks. They are useful for a painted pumpkin or a flat Halloween sign, but they do not calculate how deeply to shave pumpkin flesh.
If you choose layered painting, keep the registration marks and test the order on paper. For windows, signs and other decorations, use the Halloween stencil maker. For a ready-made face, explore the jack-o’-lantern stencils.
Upload a JPG, PNG or WebP, choose Bold and adjust the threshold. Remove background fragments, connect highlighted loose pieces and set the artwork width before downloading a printable PDF with a free account.
Use one clear subject with a simple background and strong light-and-dark contrast. Crop close to the face or object. Small textures and distant details may need to be removed so the carving stays recognizable.
Yes. Editing is free to try. A free account downloads PNG and PDF with up to three layers, one page per layer, without a watermark. Ready-made pumpkin templates download without an account.
No. The layers are tonal stencil masks for separate paint passes. They do not specify carving depth or account for pumpkin-wall thickness. For a cut-through design, start with one bold layer and check that the retained white material stays connected.
Measure the usable front of the pumpkin, set the artwork width in the export panel and choose A4 or Letter. Print at Actual size, then hold a paper proof against the curve. Reduce the width if features wrap too far around the sides.
Still have questions? Contact support →
Upload an image and make your first stencil in about a minute — free, no signup to try.


