
Screen Printing Stencil Maker
Separate your artwork into printable colour passes. Inspect each layer and add registration marks before preparing your screen-printing setup.
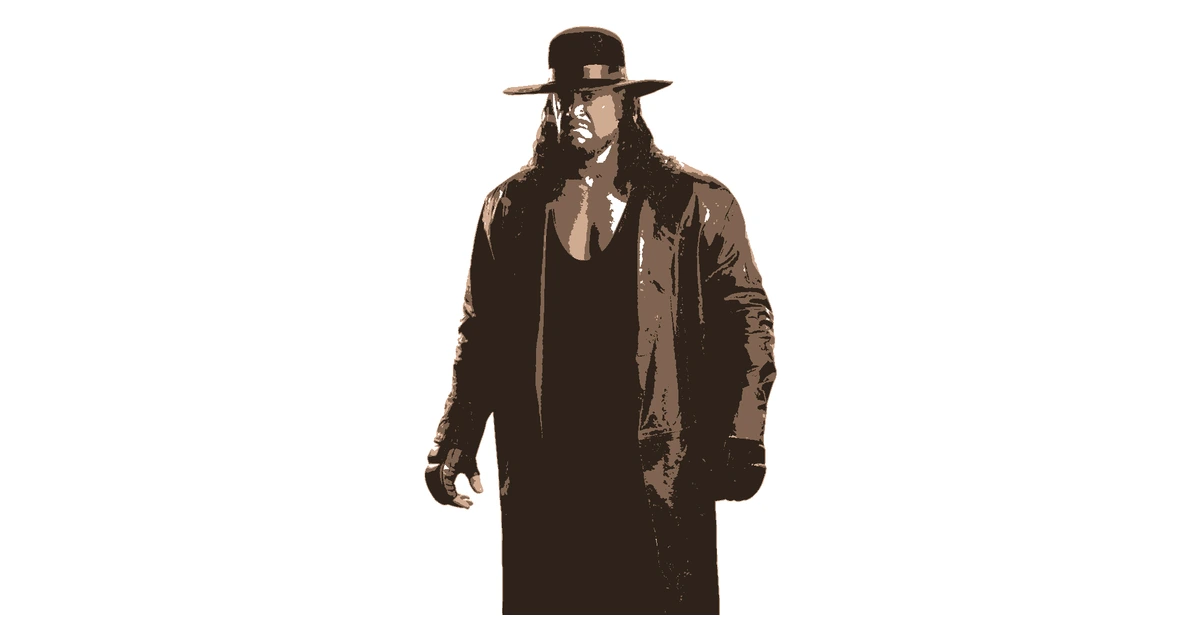
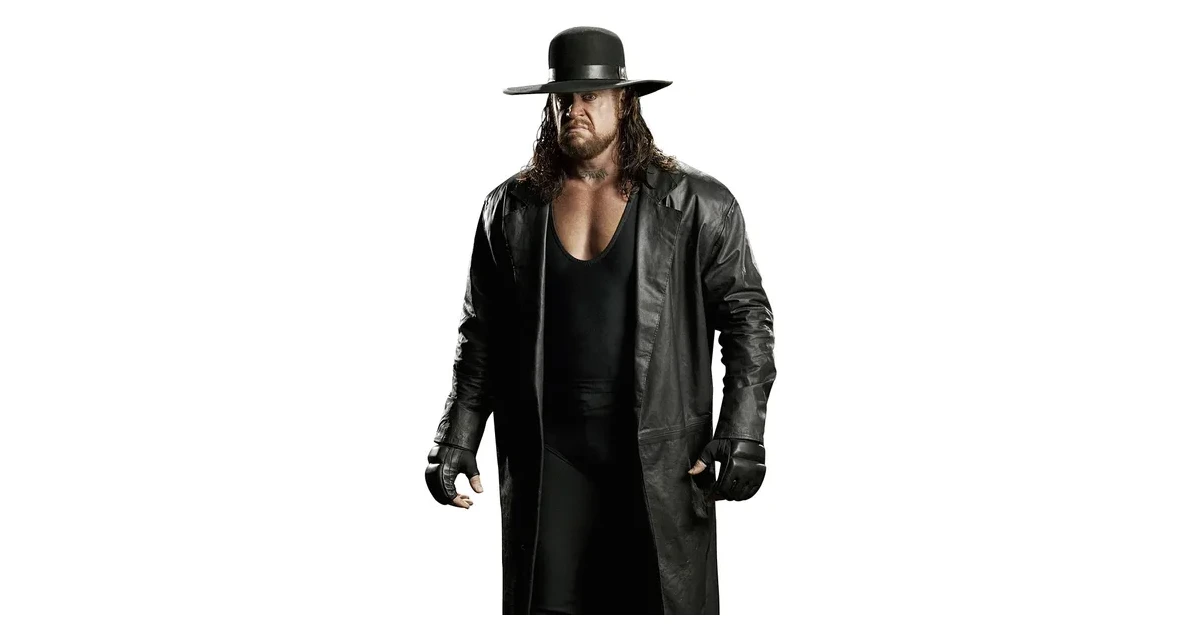
Separate Artwork Into Colour Passes
Start with an illustration or logo with distinct colours. Choose a colour style and inspect the generated masks. Rename the layers so the printing order is easy to follow.
Adjust colours to preview the combined result, then look at each mask separately. Remove small fragments that would be difficult to reproduce on your screen.
PDF and PNG Separations With Registration Marks
Enable registration marks and export each layer at the same physical width. Free accounts download up to three layers with one page per layer. Pro adds every layer and larger tiled printing.
Use transparency film appropriate for your printer. The files provide the design masks; test printed density and exposure in your own screen-printing setup.
For Small Runs and Layered Artwork
Use the composite preview to consider the order of your inks. Check the stencil geometry before printing, then make a proof to test alignment and colour interactions.
The stencil maker also provides brush, eraser and bridge tools for hand-cut stencil workflows.
Frequently Asked Questions
Does this create colour separations?
The colour styles separate your image into a small set of printable masks. Review each mask, change its colour and remove unnecessary detail before export.
Can I print transparency sheets?
Export a black PNG or PDF for each layer and use transparency film that matches your printer. Check density and exposure with your own screen-printing setup.
Are registration marks included?
Yes, enable registration marks before export. Each layer uses the same artwork dimensions so the marks can be matched between colour passes.
Still have questions? Contact support →
Make Your First Stencil
Upload an image and make your first stencil in about a minute — free, no signup to try.