
Laser Cutting Stencil Maker
Prepare your stencil geometry before you open the laser software. Connect enclosed shapes, set the artwork size and export SVG or DXF with Pro.
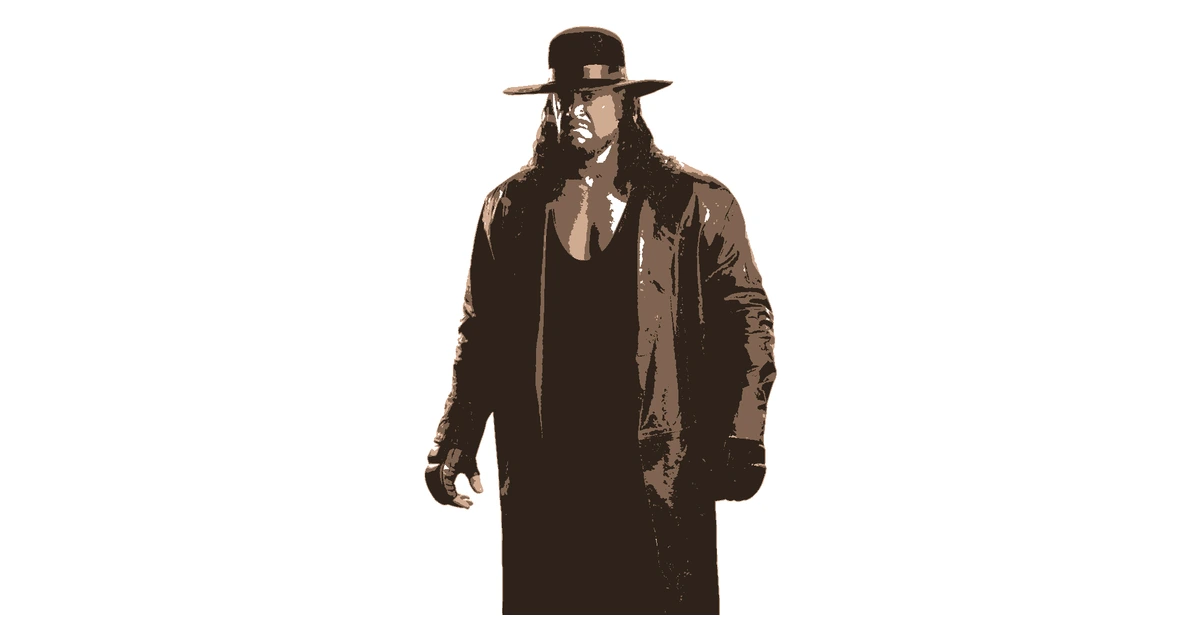
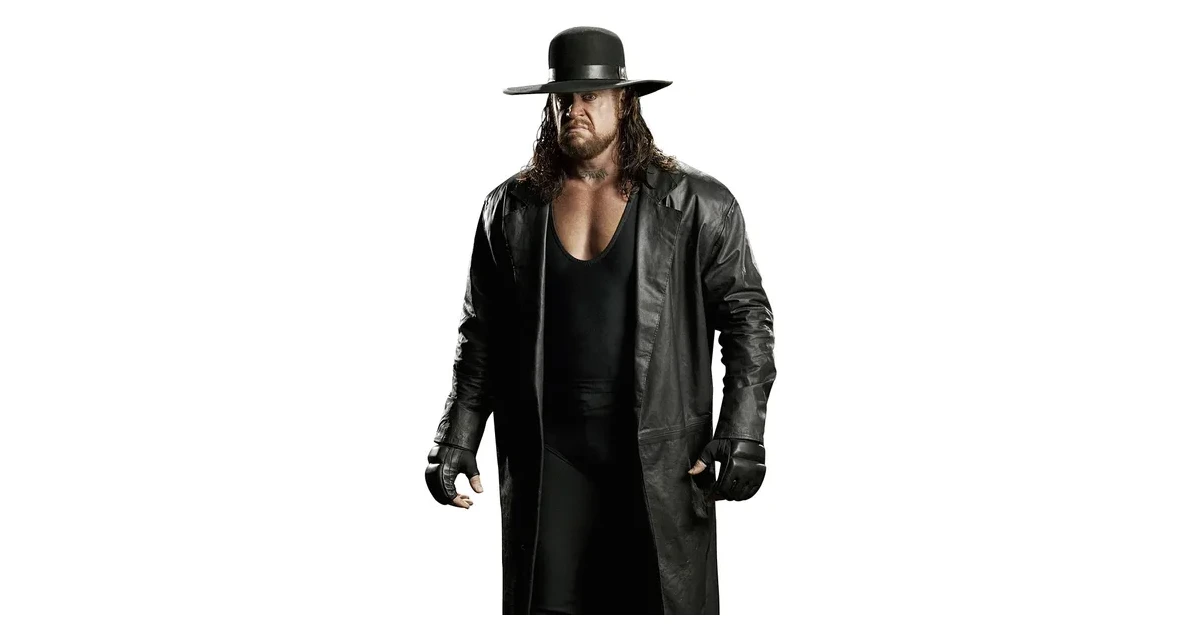
Turn a Logo or Photo Into Cutting Shapes
Start with a high-contrast image and choose a bold style. Simplify tiny details, then inspect every enclosed centre. Bridge these areas so the finished sheet stays connected.
Preview each layer at the intended scale. A design that reads clearly on screen may still contain narrow strips that are fragile in the final material.
SVG and DXF Files for Your Laser Software
Pro exports SVG paths or DXF closed polylines. Set the artwork width before download and check the imported dimensions. DXF coordinates are expressed in millimetres.
These are geometry files. Configure kerf, power, speed and job position in your laser software. A free PNG or PDF proof can help check the design before exporting vectors.
For Reusable Stencils and Workshop Projects
Choose sheet material that is suitable for your laser and follow the machine manufacturer's guidance. Test bridge widths on a small piece before making the full stencil.
Prepare a new design in the stencil maker, or review vector availability on the plans page.
Frequently Asked Questions
Should I choose SVG or DXF?
Use the format your laser software supports best. SVG retains grouped paths; DXF uses closed polylines in millimetres. Both require Pro. Inspect the import before cutting.
Will every detail survive a laser cut?
Very thin connections may fail. Use wider bridges and remove tiny islands, then test the design in a material suitable for your machine.
Does this control the laser?
No. StencilMaker.app prepares the outlines. You set material, kerf, power, speed and job placement in the machine software.
Still have questions? Contact support →
Make Your First Stencil
Upload an image and make your first stencil in about a minute — free, no signup to try.